Pages

Tuesday, September 10, 2013

Birthday Cake

Today was both my daughter's birthday and her first day of  kindergarten. Thus, I took the opportunity to throw her a surprise party. Not that it was much of a surprise, since she knew she was getting cake and all, but she didn't know her cousins and grandparents were coming over, so I call it a win anyway.

I completely failed to get a picture of her before school, and didn't get a chance to get a picture of her getting off the bus, but I DID get a picture of her right when she got home.

But didn't get the chance to make it a good picture.
But the whole point here is that I really want to show off the cake I made her. She saw a cake at the grocery store with buttercream roses and pink swags on the sides, and asked me to make her a cake like it. She also asked me for a fairy cake, a polka dot cake, a princess cake, and a cake with stars on it. I've been sort of wanting a reason to play with melted marshmallow fondant, so I went the swag direction, with cutout stars being my backup.

The swags worked wonderfully. Seriously, decorating this cake turned out to be about a zillion times easier than I ever expected. It did take quite a bit of time, probably almost four hours over two days, but it really wasn't all that hard. The roses are supposed to dry for a day before you put them on the cake, though I'm not sure why, since they're pretty solid even when fresh. Anyway, yesterday I'd just put together a rose anytime I had a spare couple minutes in the kitchen. Easy.

The toothpicks are holding up the little flowers while the "glue" dries.
Yeah, the bottom looks really ragged. I was going to make a little rope or bead border for it, but that cake is already like half frosting/fondant, and I was tired, and there were balloons to blow up.

I think my flower arranging could use a little work, but it's ok for a first time.
If you've never tried marshmallow fondant, it's actually pretty good. I've only had fondant on store-bought cakes a couple times, and I remember it being pretty rubbery and with little flavor other than sugar. There's definitely tastier things than marshmallow fondant to put on a cake, but the fondant just looks so nice! And I've never had any luck piping anything fancy.

Lookit those swags!
So I'm really impressed with myself here, and all the littles thought it was really awesome. In fact, they repeatedly tried to tear it apart before we could even eat it. So I call it a win, for sure.

Wednesday, September 4, 2013

Lemon Cheese

Did you know you can make a pretty decent cheese in about half an hour's actual work with nothing but milk and lemon juice? Well, I did, but hadn't ever done it before. I like the process of fermentation too much to be put off by the extra work it entails. So the other day when I got hit by the urge to make cheese but no starter to ferment it with, I dove into the wonderful world of acid precipitated cheese.

All you need is a quart of milk (I recommend whole, but any kind will work), and 1/4-1/3 cup of lemon juice, preferably straight from the lemon, but bottled works ok too.

Simply heat the milk on the stove until it is 180-185 degrees. If you don't have a thermometer the milk will be steaming and will hold a froth when you stir it. It is far from critical that the temperature be exactly right, but you definitely don't want to boil it or your cheese will taste like cooked milk.

Once it's hot, turn off the heat and add 1/4 cup of lemon juice and give it a good stir. It'll curdle almost immediately. Let it sit for 10 minutes. It should look like this:

Yum, right?
If the whey (the watery part) is still cloudy, add the rest of the lemon juice, stir, and let it sit another 5-10 minutes.

Place a piece of muslin or several layers of cheesecloth in a bowl and pour the whole cheese mix in there.

Thus.
Tie up the corners and hang the bag over the bowl for an hour or so. This type of cheese drains pretty quickly too, which is nice.

Hanging cheese
I had just hung it up, and most of the whey just gets left behind.
When it's pretty much stopped dripping, put the cheese in a bowl. Add some salt and stir it in. Taste and add more salt as needed. You can eat it right now if you want, but I like to refrigerate it for a couple hours so it's a bit more sold and sort of sliceable. That and room temperature cheese sort of squicks me out. That's right, squicks. It's a technical term for what slightly icky but not quite gross things do to you. Anyway, this particular cheese I wrapped in basil leaves (yes, I did just read the Hunger Games, why do you ask?), which was kind of a pain in the backside, but the next day the cheese had picked up a lovely basil flavor I really liked. I do plan on doing the basil thing again with a real fermented cheese, since this type of cheese doesn't have really any sour cheese flavor at all. I think an actual goat cheese would be fantastic wrapped in basil if I could find a place to get goat milk around here for less than $20/gallon.

This is a really great option if you want to make cheese, but are worried about messing up the entire fermentation process. This process is pretty hard to mess up, even for a total beginner, so long as you're careful not to burn the milk when you heat it up.

Monday, September 2, 2013

Deku Shield DIY: Part 1

So seeing as how it's already September and both kids want Halloween costumes that I know I won't be able to find in stores (at least not without paying ridiculously huge amounts of money), I'm getting started on their costumes. They want to be Link and Zelda, at least for now, and honestly if they change their minds, tough, I'm not making a new costume! I myself decided they're going to be the younger Link and Zelda from Ocarina of Time. Mostly because those look like the simplest to make.


So I'm starting off with the Deku shield, because paper mache is fun!

The basics

I started with a cardboard box I dug out of the garage. It happens to be an extra sturdy box with two layers of corrugation, but I have no doubt that a regular box would do just fine. I made a rough sketch of the shape of the shield, and cut that sucker out.

Basic Deku Shield Cutout
Then I realized I got the shape pretty wrong, but I really didn't feel like cutting out another one. That extra thick cardboard is kind of a pain to slice through. Anyway, it's just for Halloween, it's shape is still recognizable, and I doubt there's anyone mean enough to be making snide remarks at an adorable four year old.

Since having a flat cutout like that would look too much like a flat cardboard cutout, I bent it a bit to give it a curve.

The pencil's just there because apparently my camera can't focus on cardboard.
That's the inside of the curve. I bent it gently so that the creases would only be in the inside, and only a couple bends show on the outside at all, and they'll be covered with paper mache.

I used one of the flaps from the box cut about 3/4 of an inch shorter than the width of the shield to hold the curve, and give me somewhere to attach the straps later.


A couple strips of duct tape will hold that on nicely for me.

See? The difference is subtle, but it looks a lot better now.
I covered that in a couple layers of paper mache, let that dry, and did another vertical layer with the newspaper ripped into pointy bits. I was hoping that this would give it a tree bark texture, but the newspaper is pretty thin. I'm thinking I'll do a similar layer with paper towels torn into points and see if that looks any better. I'm not sure how I'll add the texture to make the red swirl look carved out, or if it's even worth bothering, but I'll be thinking about that too.

Friday, August 16, 2013

How to trace a sewing pattern, and why you should do it

Undoubtedly other, better sewing blogs have covered this topic before, but I'm gonna DO IT MASELF.  The whole point is to chronicle what I'm doing anyway.

So, you should be tracing sewing patterns before you start sewing them. Why? Several reasons. If you need to cut a size any smaller than the biggest on the pattern, you'll never be able to make a bigger size. Not that you'll necessarily need to, but if you make a smaller size for a child, your pattern won't be any good as they grow. Tracing also makes it easier to make adjustments to the pattern, without risking the original pattern. Basically, saving the original is always a good idea.

So, how? What do we use to trace? I use tissue paper from the Dollar Tree. If you want to make things a little faster, you can use pattern tracing paper and a tracing wheel. They're quicker and easier, but the paper costs actual money, and 40 sheets of tissue paper from the Dollar Tree is more worth it for me.

My pattern, tissue, and a pencil. Simple.
I happen to be tracing the bodice of a dress now. Shockingly, tracing a pattern isn't much more complicated than tracing anything else. Put the pattern under the tissue, and trace.

I happen to be using tuna cans to hold everything in place.
A ruler makes it quicker and more accurate to trace straight lines.
Very simple, yeah? Just make sure to trace ALL the pattern markings. And double check. Twice. And make sure to record the piece numbers and the name of the pattern piece. The pattern names are really handy for when you're putting them together later.

So it's really easy to trace patterns, and it's a really good idea to do. Trace your patterns!

Monday, August 12, 2013

The BEST way to eat berries

Seriously, yum. This is by FAR my favorite way to eat berries of any kind. AND it's reasonably healthy. As a dessert, heck, sometimes just for lunch.


And it's SO easy, and you can use whatever kind of berries you have, or even any other fruit you have on hand. Peaches would be good (if you like peaches. I don't.), or maybe mangos, possibly even pineapple. I always have to have strawberries, because duh. This time I did six or seven strawberries, sliced, a handful of blueberries, and a handful of blackberries. I wish I had some raspberries to toss in, but they're too expensive to buy regularly, and sadly I don't have anywhere to put raspberry plants.

The berries are followed with a teaspoon or two of sugar. Not much, just enough to enhance the sweetness of the berries, and a tablespoon or two of cream. Yep, cream. Heavy cream, if possible.

Then, eat. Enjoy. Yum.

Wednesday, August 7, 2013

What to do with leftover pie crust

Every time I make pie (not often enough) I have a handful of pie crust dough leftover that I trim off the edges of the pie. Now, one could cut out small shapes and put them on top of the pie with an egg wash, which would make a lovely pie, but wouldn't use ALL the crust dough, and I just can't toss it! That's wasteful! Ok, I may be a little crazy, but these cinnamon-sugar buttery pie crust bites are tasty, and totally worth it to me!


What you need:

  • Pie crust trimmings
  • Butter, melted (1-2 Tbs, depending on exactly how much pie crust you have leftover)
  • Cinnamon sugar 
  • Pastry brush (You can easily use your fingers if you don't have one though)
I only line my baking pans with foil because they're old and gross and I'm lazy.
I wouldn't go out and buy already mixed cinnamon and sugar. That's just silly. Just put 1-2 Tbs of sugar in a little bowl and sprinkle in cinnamon and mix until it looks about right. Taste if you like. Actually, you should taste it so you'll know if you've got a good mix.

Simply tear/cut the pie crust into larger than bite size pieces. You can do bite size too, but it's really hard to butter them without making an enormous buttery mess. If you have some that are thin or just too small to really be useful, smush them together and roll out again. They'll be the slightly tougher ones, but it's pretty hard to tell unless you're looking for them.

Brush those puppies with melted butter. Don't skimp, but don't make a huge mess either or they'll just be greasy.


Sprinkle everything with cinnamon sugar. At first I tried to keep it all on the pie crust, but that was nearly impossible, so it went everywhere. I'm much more at peace with wasting a couple teaspoons of sugar than wasting pie crust. I mean, pie crust is good.

Bake it right alongside your pie for about 10-15 minutes. If you're just making pie crust yumminess that'd be 375F for 10-15 minutes. Just keep an eye on it and pull it out when it gets lovely and brown.

I failed to get a picture of the baked bites before they were devoured, sorry. They were really good.


Saturday, August 3, 2013

Makin' Yogurt!

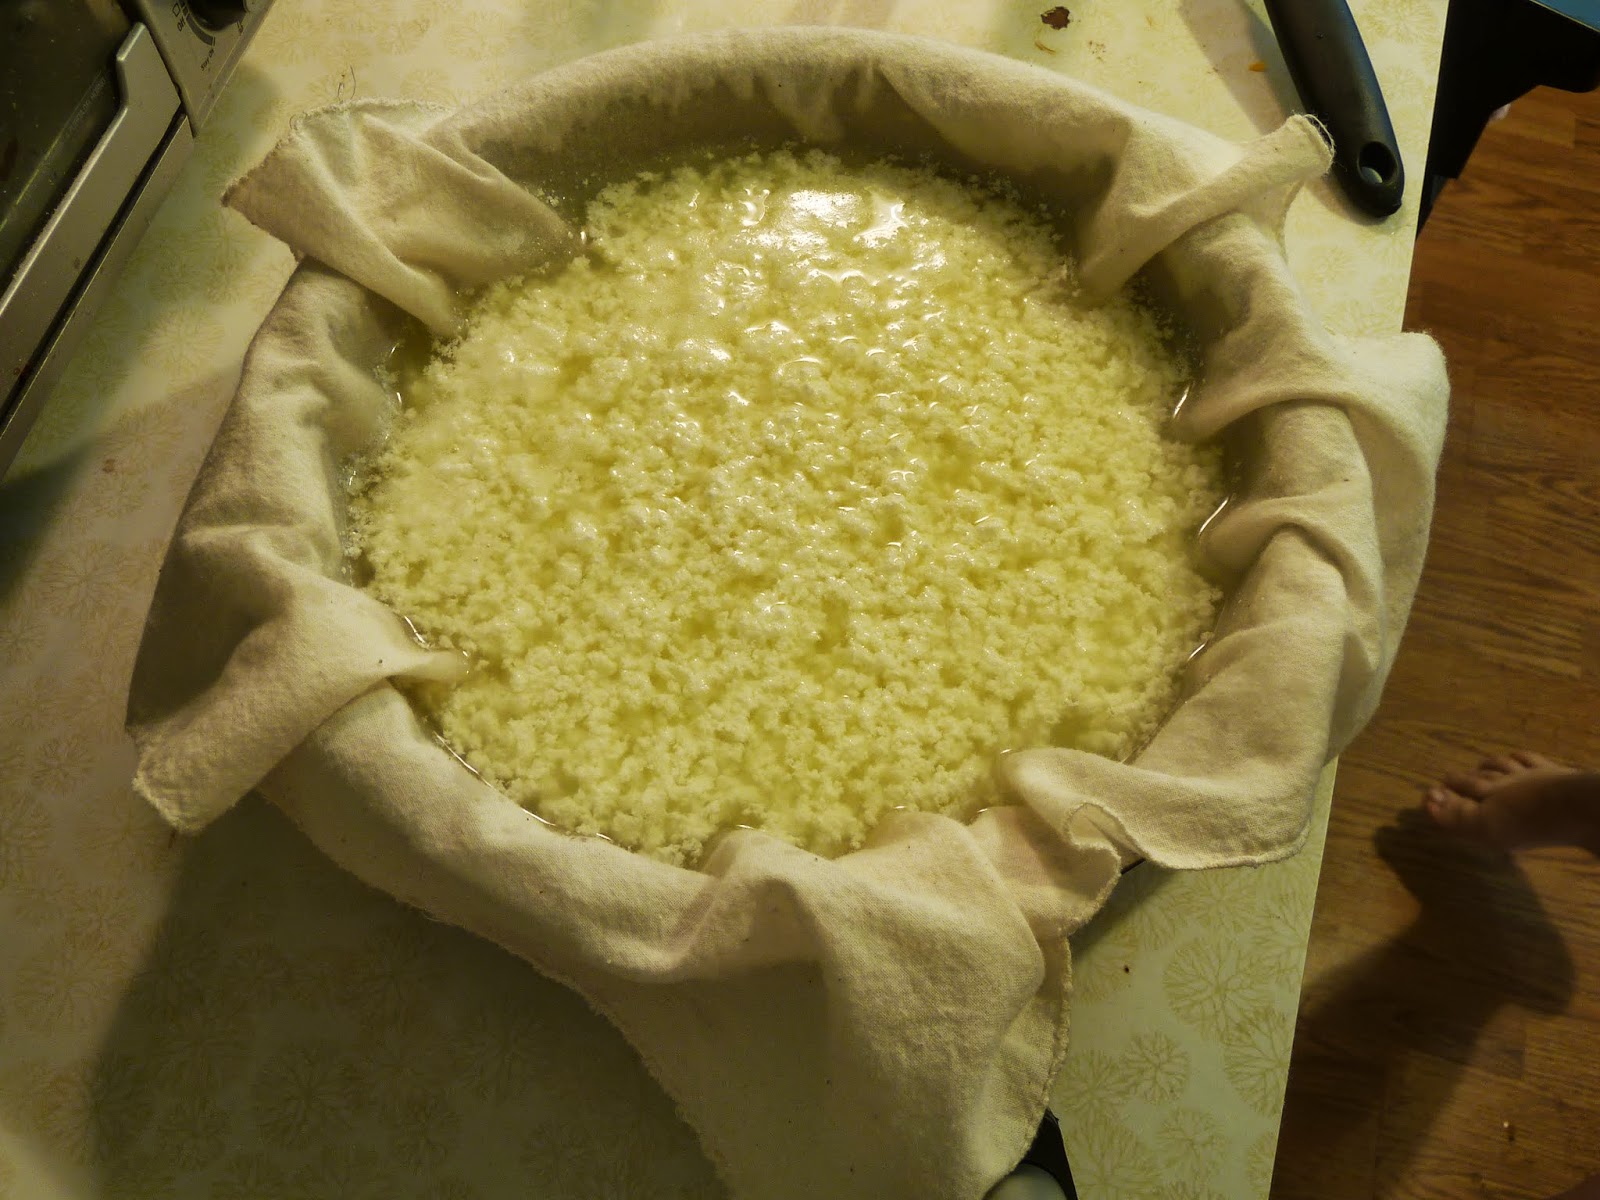
We eat a lot of fermented milk products in our house. My kids LOVE yogurt, sour cream, and cheese. But yogurt is crazy spendy if you eat as much as we do, so I most often make it. It's really easy! Granted, it requires a good bit of attention at the beginning of the process, and it's really disappointing when you wait for a gallon of milk to ferment and something goes wrong. But after you've made your own yogurt a few times you get a good feel for what works, what doesn't, and how much attention you really need to pay to it.

You don't need any fancy yogurt makers or other special equipment. A heating pad, like one you'd get for sore muscles, is handy, but if you can do without your oven for 6-8 hours that'll work just as well.

So, what you do need is a pot big enough to hold the milk, a whisk, a spatula, and a candy thermometer. You could get by with a meat thermometer too, actually, but the candy thermometer will clip to the side of your pot, and that's really handy. You also need the milk and a yogurt starter. We like to use whole milk, because it's more filling, richer, and makes a thicker yogurt. You'll need to make sure that the yogurt you buy has live active cultures in it, and that it's one you like. Your homemade yogurt is going to have the same flavor and texture as you starter, so you don't want to waste your time making yogurt from one you won't even eat. Our favorite is Nancy's, partly because it's local for us, but I know others use Dannon, or even some types of Greek yogurt. Just read the ingredients; it'll say live active cultures on it, or it'll have a list of crazy Latin sounding names at the end.

The yogurt I'm using this time is Nancy's vanilla. I recommend using either plain or vanilla yogurt, so that you can flavor it however you want later. 


First you want to sanitize your pot. I just put an inch or so of water in it, toss in my whisk, spatula, and thermometer, and boil for 5 minutes or so. I put the lid on top (even though everything sticks out) to help hold the steam in. 

When that's done, dump out the water and pour in the milk. Set it back on the stove, this time on medium low heat. You want to get the milk up to 185F, but do so slowly. Heating it too fast will make it cook and stick on the bottom, and your yogurt will end up with a cooked milk flavor. You don't have to stir it constantly, but give it a good whisk every few minutes to keep it from cooking on the bottom.


While it's heating, make sure your sink is empty and at least mostly clean. Maybe do the dishes while it's getting hot. I don't know, do whatever you need to do. :D Once your milk is 185F, you want to cool it down quickly. I put in a sinkfull of water with a bunch of ice. Stir it while it cools, so you get an accurate reading. Get your yogurt out of the fridge and let it warm up a bit while your milk is cooling off. When it's right about 120F is when you add your yogurt. If you dip your pinkie in it should feel like a nice warm bath, not hot. Definitely hotter than a baby bottle should be.

Pour a bit of the warm milk into the yogurt and whisk it up. This makes it easier to mix the yogurt into the whole thing. 


Whisk that well, get it nice and uniform. Then pour it back into the warm milk.

Hey, counter, your 1970's is showing.

Slap a lid on that puppy and leave it somewhere to warm. I set it on top of a heating pad like thus:


and wrap it in a towel:


Leave it there for 6-8 hours, until it smells like delicious yogurt and is thickened. You can also put it in your turned-off oven, and just leave the light on. That'll keep it at just about the right temperature for yogurt. Don't forget to turn your heating pad off and back on every couple hours or so if you have one like mine that automatically turns off. That's why I normally opt for the oven method, but I needed my oven today so heating pad it is!

You may notice I didn't give any measurements. That was intentional. The measurements aren't super important. This time I happened to use 1/2 gallon of milk and about 1/2 cup of yogurt. You can easily make a whole gallon of yogurt if you eat a lot (we normally do), or make just a quart. You want to have at least 1/4 cup of yogurt no matter how much milk you use, but the precise amount isn't critically important.

Thursday, August 1, 2013

Knit Cashmere Dice Bag

I knit this dice bag about a year ago from some cashmere I got from a thrifted sweater.


This yarn is probably my most exciting thrift store find ever. 100% cashmere sweater, lovely crocheted seams (rather than serged), and originally very pale pink.


I dyed the bag with kool aid. Unfortunately I forget exactly what I used, but I'm pretty sure I used cherry flavored, with just a pinch of grape to get that dark blood-soaked color one needs as a barbarian.


I was afraid the cashmere wouldn't hold up very well, being a rather delicate fiber and all, but other than a bit of pilling around the drawstring it's held up just fine.

Monday, July 29, 2013

Hand-Printed Fabric

I've been trying to figure out a way to jazz up the basic totes I make, and came across this post by Dana at danamadeit.com. She simply painted fabric with acrylic paint, without even using a textile medium. According to various other sources I found via google, latex paint works as well as acrylic when mixed with textile medium, but I don't have any textile medium, don't feel like making the trip to the craft store, and don't really have any room in the budget to buy any anyway. I figure since the textile medium is mostly for making the paint more flexible and comfortable on clothing, it wouldn't be too terrible to leave it out for a tote bag.

Thus, I pulled out a quart of "electric orange" latex paint. It's been sitting in the cupboard for... oh... 12 or 13 years now. I got it originally to sponge over the red walls in my bedroom. I was a weird kid.


I cut out the fabric, a 100% cotton recycled bedsheet, and laid it out on some newspapers. I used the toilet paper roll to stamp the fabric, and the old container lids to hold the paint. (Side note: am I the only one who saves sour cream and yogurt containers, but somehow ends up with twice as many lids as containers?)


See those little speckles around the circles? That's because I just dipped the TP roll in the big lid full of paint and stamped away. Thus, every time I lifted the roll little droplets of paint would pop off. So I started dipping the roll in the paint, then tapping it on the empty lid before stamping a couple times. Lather, rinse, repeat.

I like how I got impatient and rushed and the circles on the left are getting thicker and messier. There's even a couple super thick blobs:

Which actually thinned out quite a bit when they dried, but are still pretty blobby. Eh, well. I still need to see how it holds up to washing/drying/using/washing/etc. And if it works, I'll be more careful to keep things even if I do it again. I kind of like the way it's not all nice an even though. 

I'm also noticing that I really need to work on my photography. Proper lighting is really hard in my house; we have lots of trees, and not huge windows, so natural light is in very short supply, even in the summer.

After drying I went to iron the paint and found a little happy face.
Children have been here.
Ah, well, such is life. I actually kind of wish it had been a circle closer to the center, this one is probably going to get mostly lost in the hemming and sewing of the tote. And it'll be upside-down...

Anyway, iron on highish heat, use an ironing cloth or a bit of scrap between the iron and the paint. I used a bit of newspaper, and where the paint is thicker the newsprint stuck in the paint like silly putty. I'll see if it washes off, but if it doesn't, again, no big deal.

And that's how you use latex paint on fabric. I'll do another post with the finished tote bag later, too.

Tuesday, April 2, 2013

Egg-Stuffed Potatoes

Today I had to scramble a bit to get dinner on the table. See what I did there? I'm very punny. I'll stop now.

Anyway, dinner time was fast approaching. I had been planning on thawing out the last of our taco beans and whipping up some nachos, but found that I had, in fact, used them to make quesadillas last week. Crud. So the only protein I could cook quick enough for dinner was eggs, but I really didn't want scrambled eggs, or a frittata.

A quick search lead me to something called an Idaho Sunrise. Sounded good, but soft-cooked eggs really squick me out. Like, seriously. Ew. Even though it said they were good even if you don't like runny eggs. Ew. So I changed it up some and scrambled my eggs a little before putting them in the potatoes, and cooked them a minute or so past the point where they stopped jiggling. Ok, I wasn't anything approaching that precise, but they really were cooked just slightly past the no-jiggle point.

And they were good:
Please excuse my lacking photography skills. And also the dark brown  burny stuff. Some of the potatoes overflowed a bit.

Anyway, I changed a few things. Instead of butter, I brushed the insides of the potatoes with bacon fat. YUM. Sadly, I had no actual bacon to use, but I did have cheddar cheese and little green onions, which I used generously.

We ate them topped with a little sour cream, and I had some chipotle Tabasco with mine. Love that stuff. On the side? Green smoothie. Verdict?
Ok, so that's a little bit of a cheat. She grins every time the camera comes out. But she DID like dinner, so I'm counting it.

Also, here's an upside down squirrel:

Wednesday, March 20, 2013

Greenery

Aren't these little alfalfa sprouts just the most adorable things?


Soon as spring sprung I was struck with the need for green. I got these alfalfa seeds from a local health food store (affectionately referred to by us as "the hippy store"), and tossed them on top of a coffee mug of dirt. These sprouted the day before yesterday, roughly two days after I planted them. The seeds are meant for sprouting and eating, but I don't really intend to eat these particular sprouts. They're just a cute little cup of plant.

I'm still working on cleaning up the garden, as well as the rest of the yard. Hopefully I'll be able to get most of it done before school starts up again in two weeks, but so far the weather hasn't been cooperating. It was practically a monsoon this morning, but the sun has peeked out a couple times since then, and the forecast says it'll be partly sunny tomorrow, so we shall see.

I have a plan and the materials for a PVC grape arbor, which I'm planning on taking pictures of, and maybe I'll write up a short tutorial on it. I don't have an enormous amount of confidence in a PVC arbor to hold up a whole grape vine, at least not for more than a year or two, but it's cheap and should work until we can get up a better structure. Worst case scenario, I'll cut it down a bit and toss a couple old sheets over it for a fort, so nothing will be wasted.

Wednesday, March 13, 2013

It began on a whim

Cool new blog. Awwww, yeah! So the plan is to document some of the
 random exploits we do around here. Do? Does one do exploits? Seems like the wrong verb. Clearly I am no writer, but I shall do my best. Hopefully I'll have some cool things to document. Mainly along the lines of housewifey things, gardening, cooking, cleaning, boring stuff like that, but every so often I'll probably have some random building project or something. Who knows. Heck maybe my first post will be about why my keyboard seems to be going haywire. Seriously, I've got line breaks and random spaces all up in this paragraph. Will try to fix. Laters!

And it turns out that it was just a stuck enter key over by the 10-key pad. Which explains the mysterious boot problems I had earlier, as well as the weirdness of, well, everything. And now it's fixed, and it just took me two minutes of wiping down the keyboard with alcohol. I love it when things are easy to fix.