Pages

Tuesday, September 10, 2013

Birthday Cake

Today was both my daughter's birthday and her first day of  kindergarten. Thus, I took the opportunity to throw her a surprise party. Not that it was much of a surprise, since she knew she was getting cake and all, but she didn't know her cousins and grandparents were coming over, so I call it a win anyway.

I completely failed to get a picture of her before school, and didn't get a chance to get a picture of her getting off the bus, but I DID get a picture of her right when she got home.

But didn't get the chance to make it a good picture.
But the whole point here is that I really want to show off the cake I made her. She saw a cake at the grocery store with buttercream roses and pink swags on the sides, and asked me to make her a cake like it. She also asked me for a fairy cake, a polka dot cake, a princess cake, and a cake with stars on it. I've been sort of wanting a reason to play with melted marshmallow fondant, so I went the swag direction, with cutout stars being my backup.

The swags worked wonderfully. Seriously, decorating this cake turned out to be about a zillion times easier than I ever expected. It did take quite a bit of time, probably almost four hours over two days, but it really wasn't all that hard. The roses are supposed to dry for a day before you put them on the cake, though I'm not sure why, since they're pretty solid even when fresh. Anyway, yesterday I'd just put together a rose anytime I had a spare couple minutes in the kitchen. Easy.

The toothpicks are holding up the little flowers while the "glue" dries.
Yeah, the bottom looks really ragged. I was going to make a little rope or bead border for it, but that cake is already like half frosting/fondant, and I was tired, and there were balloons to blow up.

I think my flower arranging could use a little work, but it's ok for a first time.
If you've never tried marshmallow fondant, it's actually pretty good. I've only had fondant on store-bought cakes a couple times, and I remember it being pretty rubbery and with little flavor other than sugar. There's definitely tastier things than marshmallow fondant to put on a cake, but the fondant just looks so nice! And I've never had any luck piping anything fancy.

Lookit those swags!
So I'm really impressed with myself here, and all the littles thought it was really awesome. In fact, they repeatedly tried to tear it apart before we could even eat it. So I call it a win, for sure.

Wednesday, September 4, 2013

Lemon Cheese

Did you know you can make a pretty decent cheese in about half an hour's actual work with nothing but milk and lemon juice? Well, I did, but hadn't ever done it before. I like the process of fermentation too much to be put off by the extra work it entails. So the other day when I got hit by the urge to make cheese but no starter to ferment it with, I dove into the wonderful world of acid precipitated cheese.

All you need is a quart of milk (I recommend whole, but any kind will work), and 1/4-1/3 cup of lemon juice, preferably straight from the lemon, but bottled works ok too.

Simply heat the milk on the stove until it is 180-185 degrees. If you don't have a thermometer the milk will be steaming and will hold a froth when you stir it. It is far from critical that the temperature be exactly right, but you definitely don't want to boil it or your cheese will taste like cooked milk.

Once it's hot, turn off the heat and add 1/4 cup of lemon juice and give it a good stir. It'll curdle almost immediately. Let it sit for 10 minutes. It should look like this:

Yum, right?
If the whey (the watery part) is still cloudy, add the rest of the lemon juice, stir, and let it sit another 5-10 minutes.

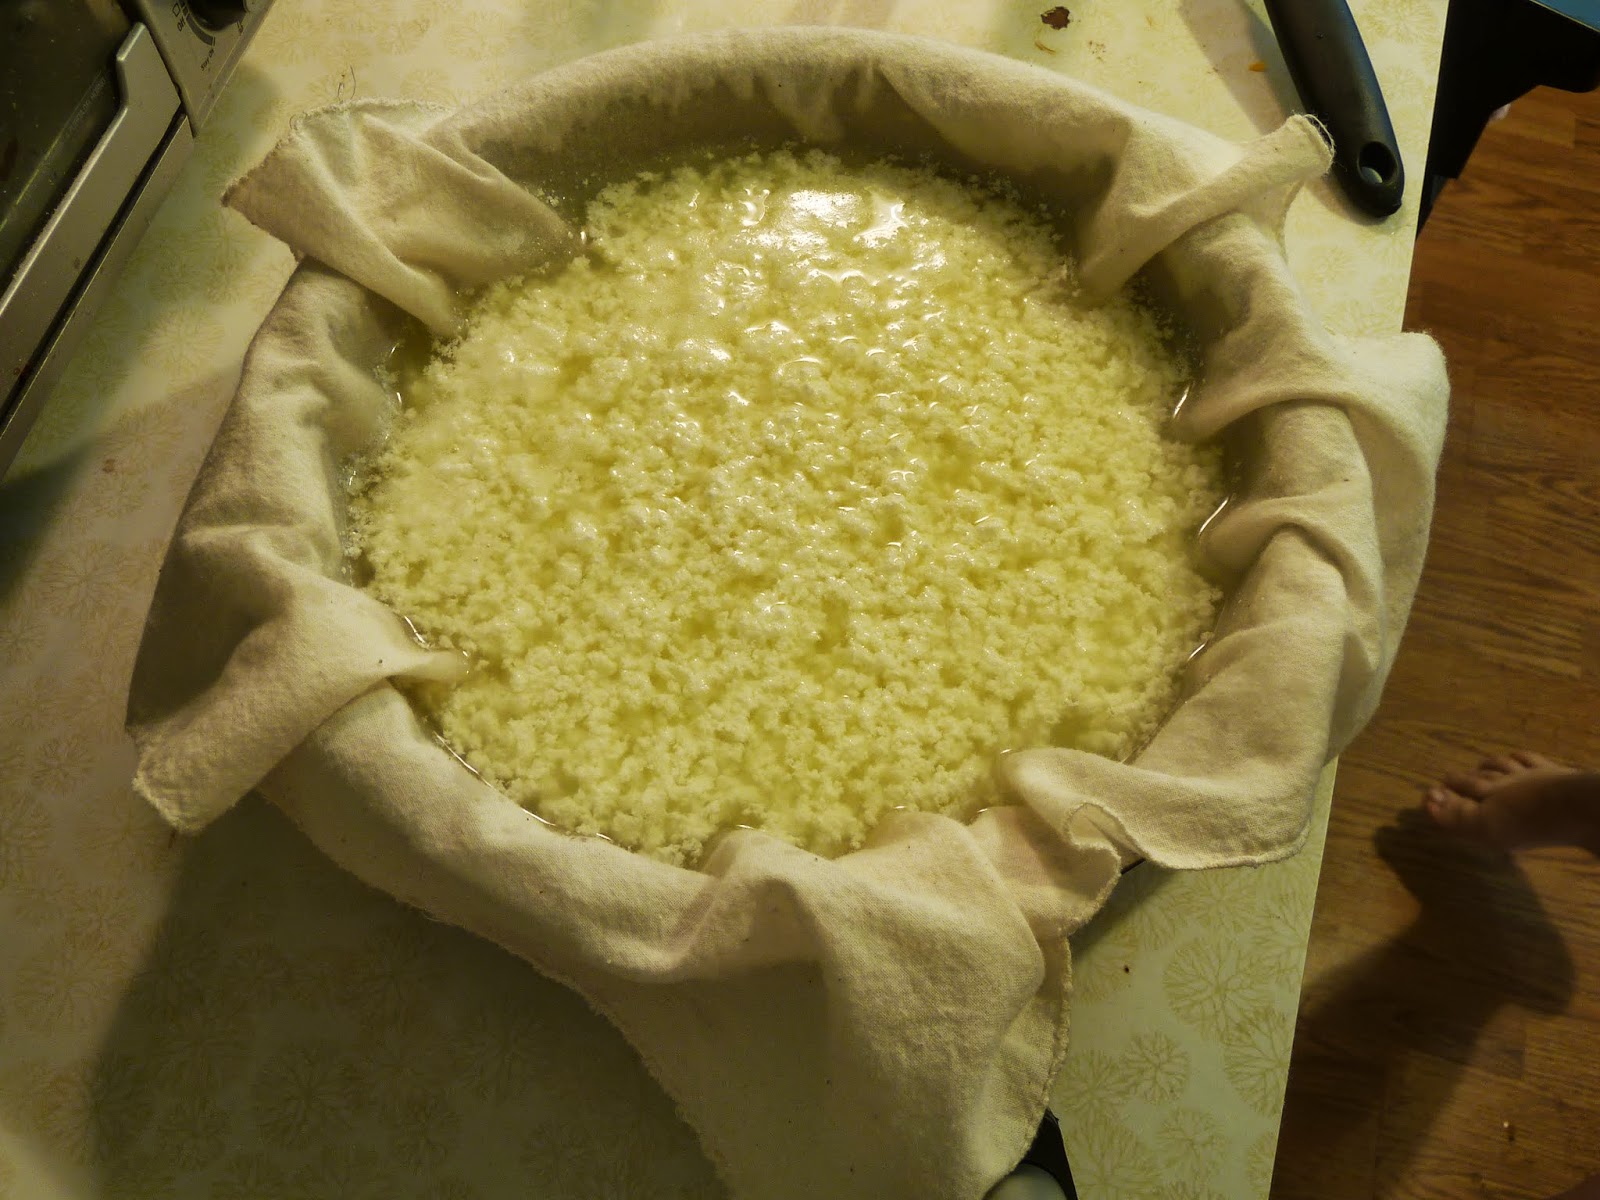
Place a piece of muslin or several layers of cheesecloth in a bowl and pour the whole cheese mix in there.

Thus.
Tie up the corners and hang the bag over the bowl for an hour or so. This type of cheese drains pretty quickly too, which is nice.

Hanging cheese
I had just hung it up, and most of the whey just gets left behind.
When it's pretty much stopped dripping, put the cheese in a bowl. Add some salt and stir it in. Taste and add more salt as needed. You can eat it right now if you want, but I like to refrigerate it for a couple hours so it's a bit more sold and sort of sliceable. That and room temperature cheese sort of squicks me out. That's right, squicks. It's a technical term for what slightly icky but not quite gross things do to you. Anyway, this particular cheese I wrapped in basil leaves (yes, I did just read the Hunger Games, why do you ask?), which was kind of a pain in the backside, but the next day the cheese had picked up a lovely basil flavor I really liked. I do plan on doing the basil thing again with a real fermented cheese, since this type of cheese doesn't have really any sour cheese flavor at all. I think an actual goat cheese would be fantastic wrapped in basil if I could find a place to get goat milk around here for less than $20/gallon.

This is a really great option if you want to make cheese, but are worried about messing up the entire fermentation process. This process is pretty hard to mess up, even for a total beginner, so long as you're careful not to burn the milk when you heat it up.

Monday, September 2, 2013

Deku Shield DIY: Part 1

So seeing as how it's already September and both kids want Halloween costumes that I know I won't be able to find in stores (at least not without paying ridiculously huge amounts of money), I'm getting started on their costumes. They want to be Link and Zelda, at least for now, and honestly if they change their minds, tough, I'm not making a new costume! I myself decided they're going to be the younger Link and Zelda from Ocarina of Time. Mostly because those look like the simplest to make.


So I'm starting off with the Deku shield, because paper mache is fun!

The basics

I started with a cardboard box I dug out of the garage. It happens to be an extra sturdy box with two layers of corrugation, but I have no doubt that a regular box would do just fine. I made a rough sketch of the shape of the shield, and cut that sucker out.

Basic Deku Shield Cutout
Then I realized I got the shape pretty wrong, but I really didn't feel like cutting out another one. That extra thick cardboard is kind of a pain to slice through. Anyway, it's just for Halloween, it's shape is still recognizable, and I doubt there's anyone mean enough to be making snide remarks at an adorable four year old.

Since having a flat cutout like that would look too much like a flat cardboard cutout, I bent it a bit to give it a curve.

The pencil's just there because apparently my camera can't focus on cardboard.
That's the inside of the curve. I bent it gently so that the creases would only be in the inside, and only a couple bends show on the outside at all, and they'll be covered with paper mache.

I used one of the flaps from the box cut about 3/4 of an inch shorter than the width of the shield to hold the curve, and give me somewhere to attach the straps later.


A couple strips of duct tape will hold that on nicely for me.

See? The difference is subtle, but it looks a lot better now.
I covered that in a couple layers of paper mache, let that dry, and did another vertical layer with the newspaper ripped into pointy bits. I was hoping that this would give it a tree bark texture, but the newspaper is pretty thin. I'm thinking I'll do a similar layer with paper towels torn into points and see if that looks any better. I'm not sure how I'll add the texture to make the red swirl look carved out, or if it's even worth bothering, but I'll be thinking about that too.